Neither snow, nor rain, nor sleet...
Our postmaster gets big props today. S
 he drove through snow and an inch of ice packed solid on our back country roads in order to deliver my Yarn Aboard box ! Yipppeeee..
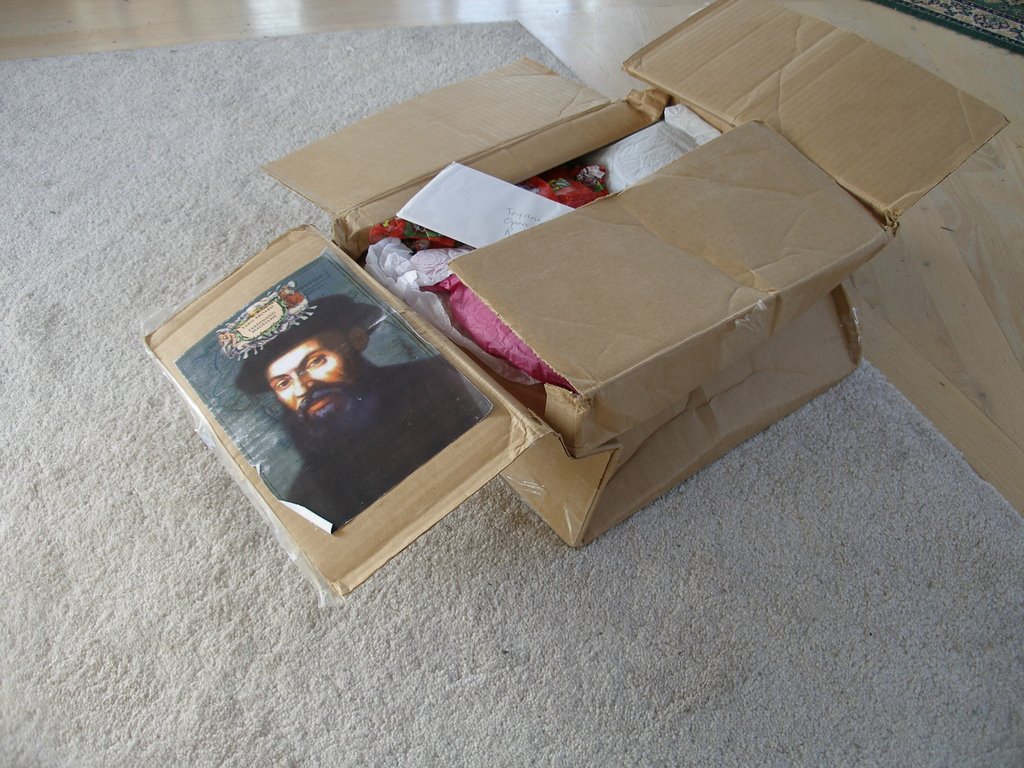
Ferdinand Magellan has landed
 - and has now become ice bound. He will be delayed a few days from continuing his 'round the world' expedition, while we pick the ice off his rudder - and
  then hopefully be on his way to his next stop. It's been 20 degrees outside here lately - with a wind chill factor that makes it below zero.... (very unusual for this area) and they are predicting yet another huge winter storm tonight..... so this wizard is home spinning :-)
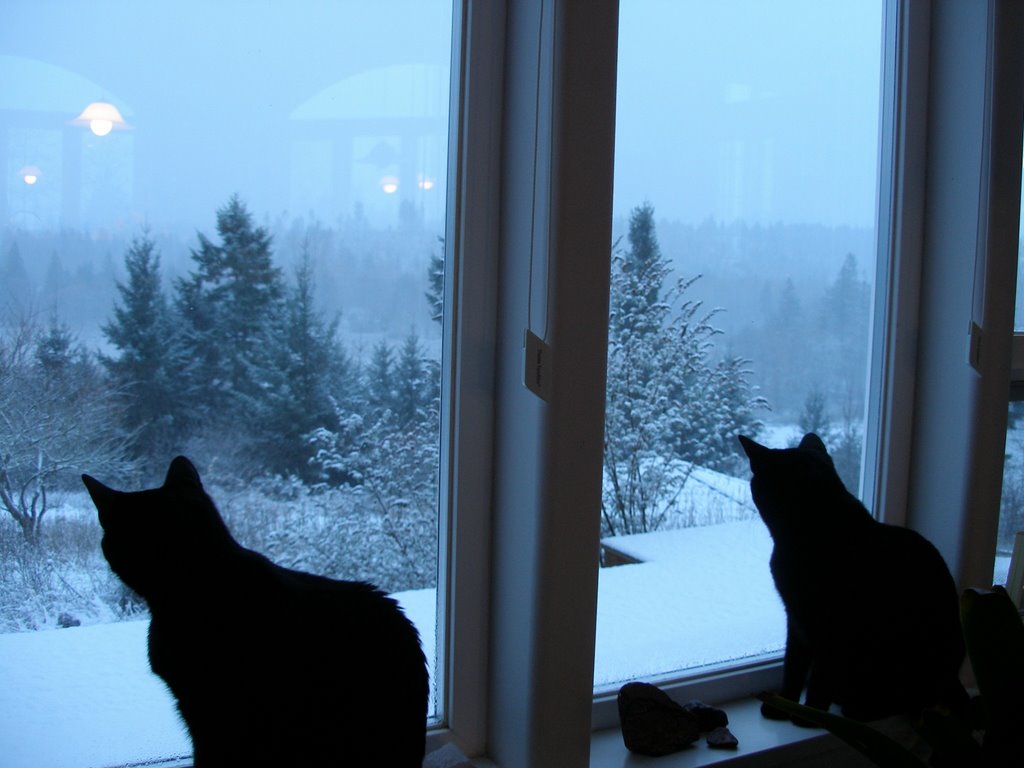
The kitties are enjoying their very first glimpse of snow - and are begging to go out and play (the answer's no)
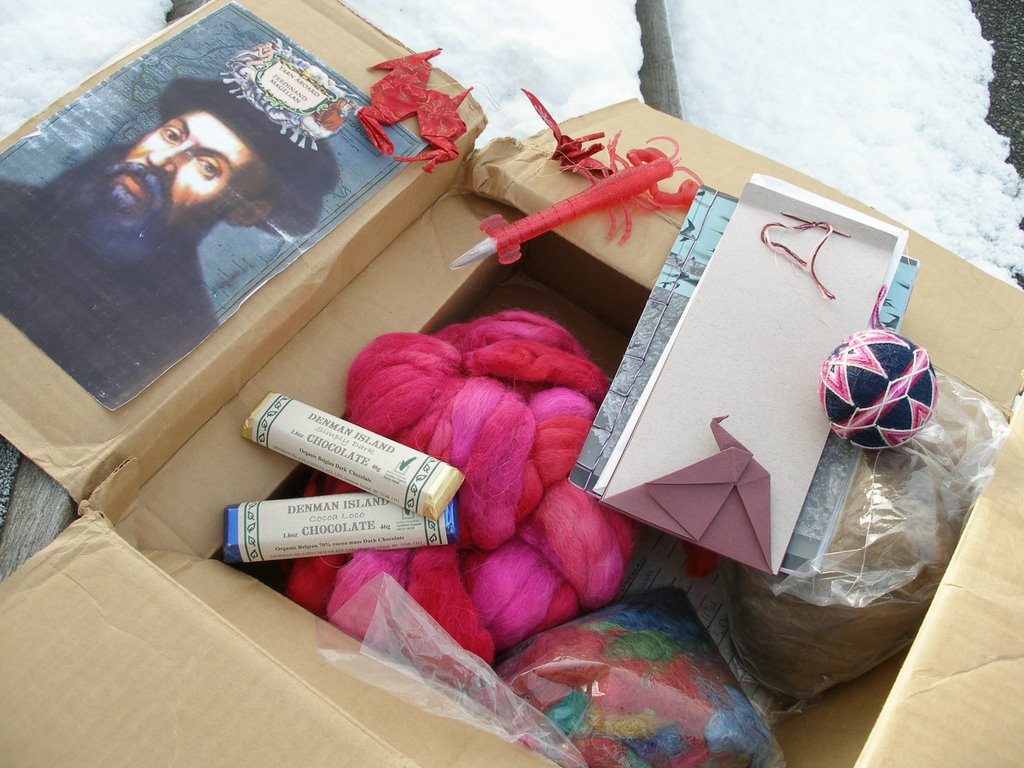
 So here's my goodies.
despite the box having seen better days,
 everything inside arrived in tact!
Jackie sent such a lovely assortment of goodies - and she gave incredible attention to detail. It began with a lovely note card and part of a book that she copied for me called Burd that was written by Stewart Mclean.
 Apparently, there is a reference in the book to "Cosmic Mother Fu...." that is quite hilarious, since our business is often referred to as CMF - Jackie has translated that now to "Cosmic Mother Fibre".. cute eh?! Even her note to me was a work of art - notice the hand sewn top and the perfect paper crane at the bottom. just lovely.
There was, of course, chocolate (yay) from Canada - Denman Island chocolate. That will be promptly eaten, now that it has been photographed (*grin*)
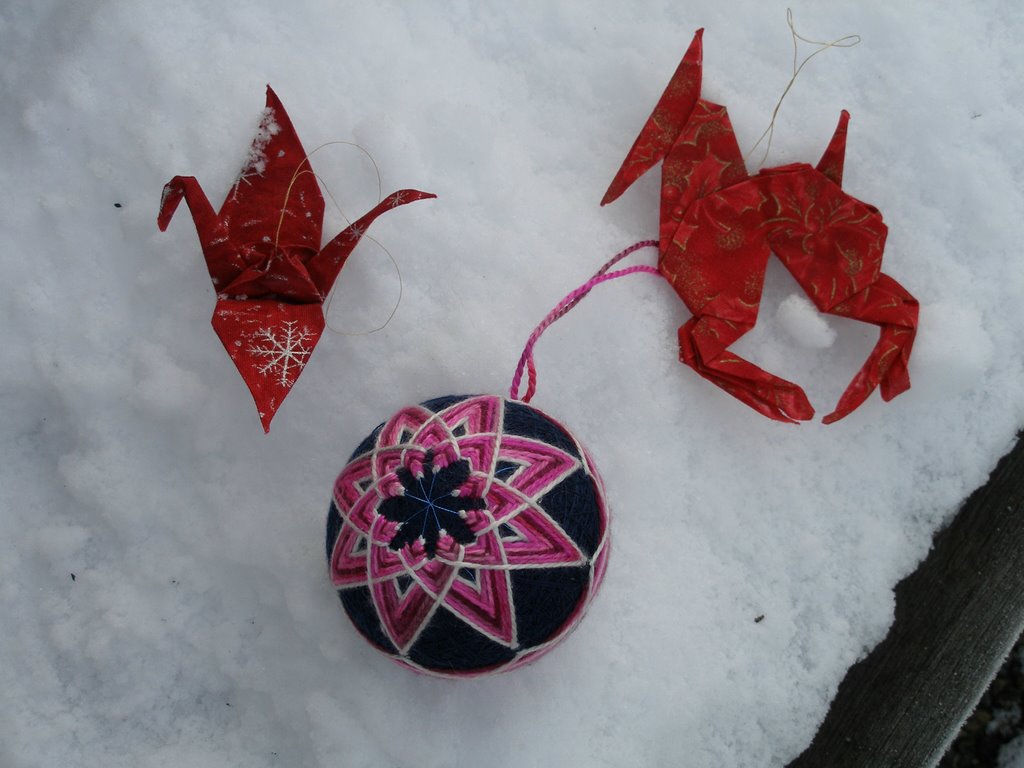
And just look at these hand made ornaments -the ball is handmade by Jackie - it is called temari. She made it with some left over yarns from silk scarves that she wove. I wonder how she knew that my husband and I love stars! (particularly the 8 pointed ones for me) It is almost too incredible to even photograph. And the origami ornaments are also so dear; a horse and a crane. Truly they will be good luck on our tree.
She also included a "lobster pen" - it's one of those eewwie-goowie rubbery things.. made me laugh. She said "what's a box from the maritimes without a lobster" tee hee.
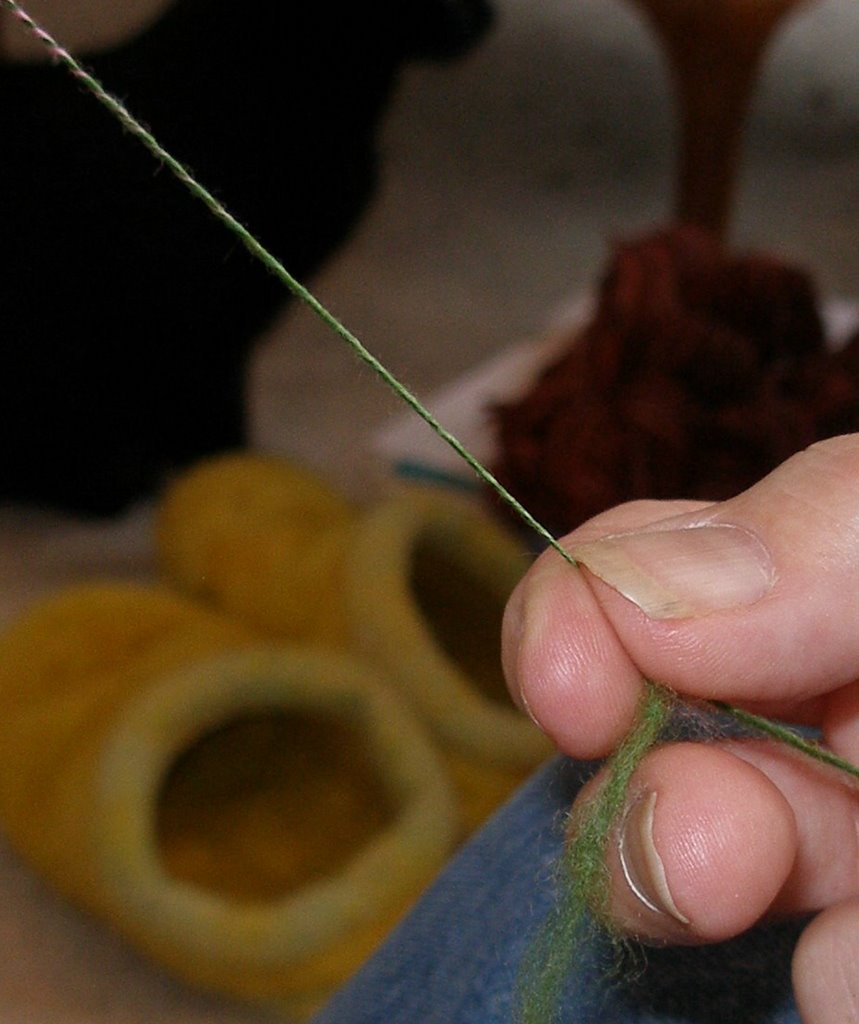
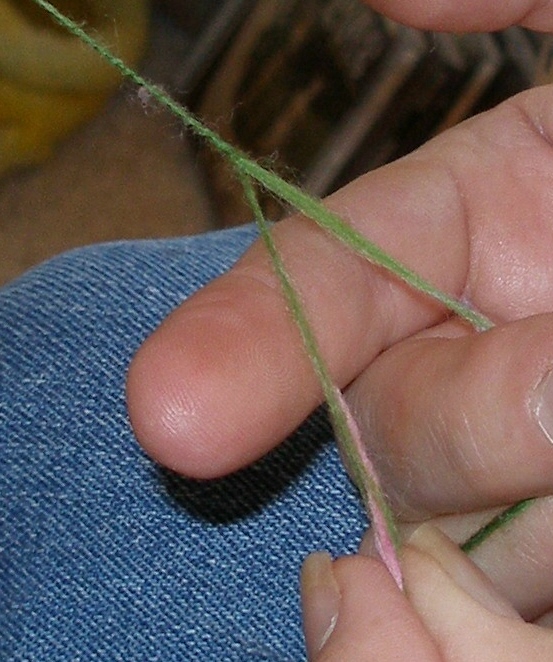
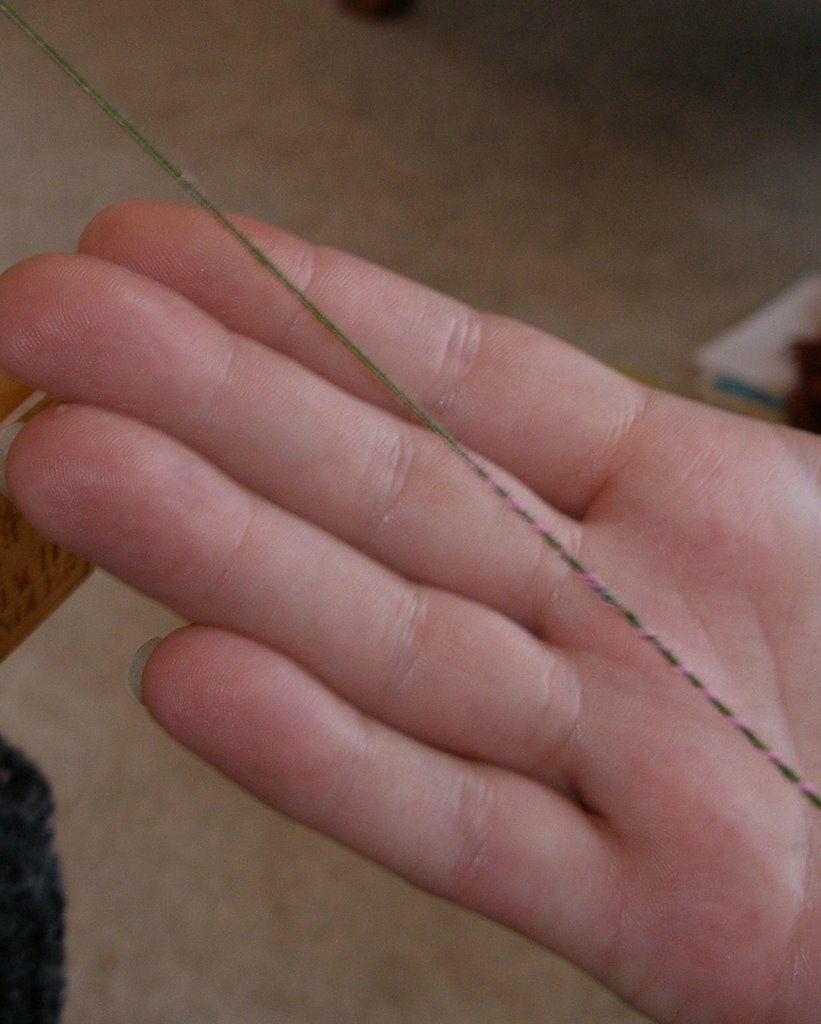
Okay - now for the fiber.............. tah dah!
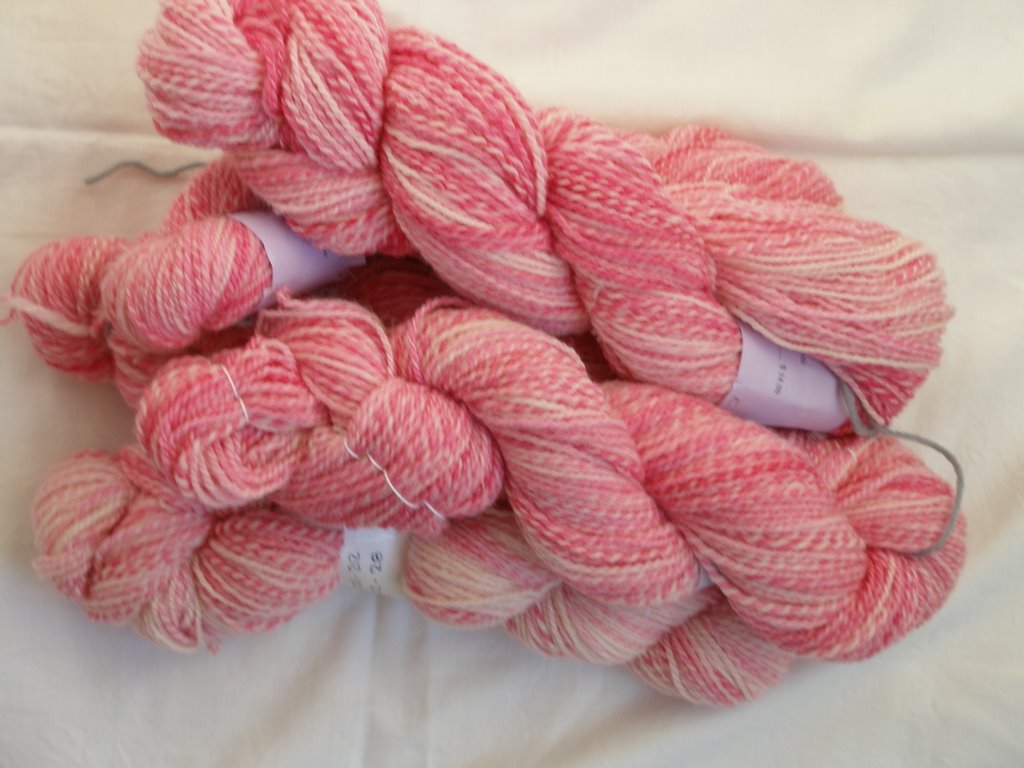
Luscious pink and fuschia alpaca roving (8 whole ounces!). I can't wait until my bobbins are empty so that I may spin that into a yarn for a scarf, or maybe even a shawl if I can make it thin
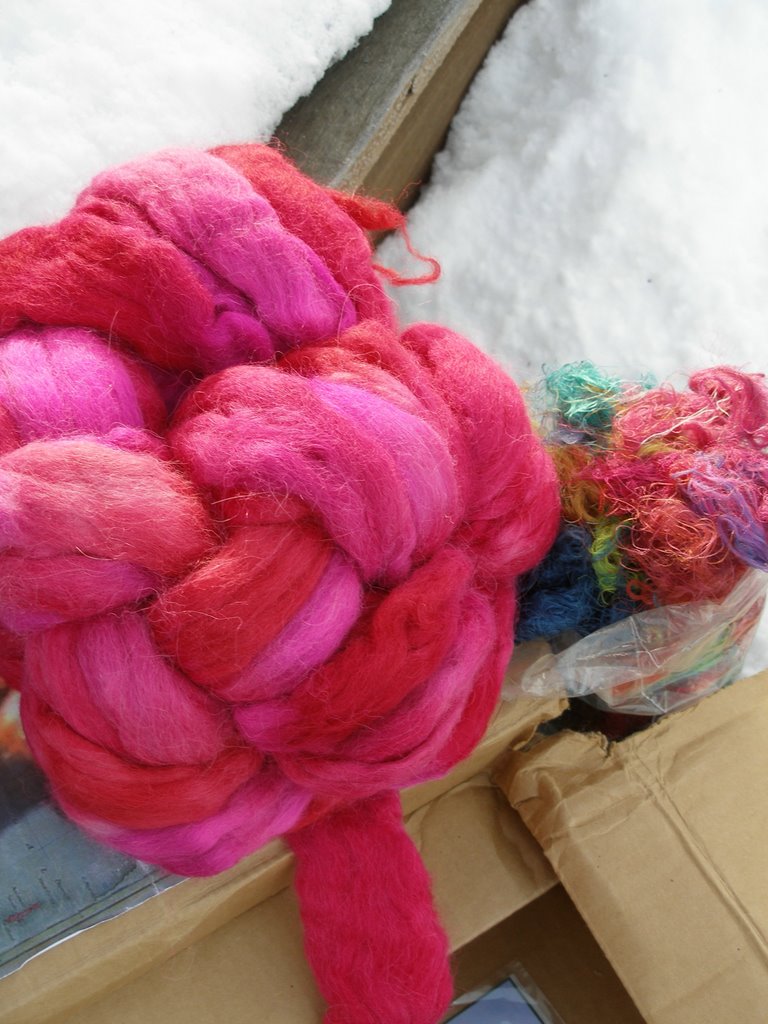 enough. I haven't spun much alpaca, so I am totally in awe of this gift.. can't wait. Isn't the color vivid and wonderful?! It is totally me.
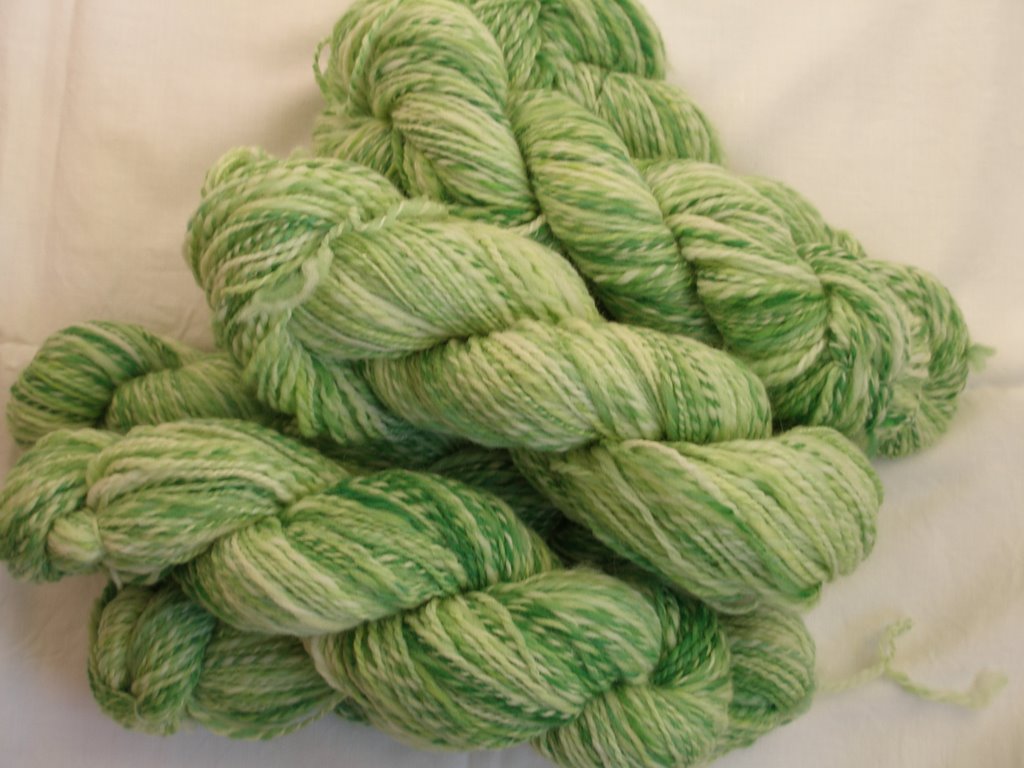
Beside the alpaca in the photo is a bag smashed full of silk rags. I have played with these a tiny bit before - flicking them into a dark yarn as I spin. Now I have a whole humongo bunch that I can mess with. wow. they are really fun guys.
And last - but by far NOT least, there is ..... (drum roll please) Quiviet ! whoa
 - this stuff is amazing! (and also is one of the very few fibers that we do not (yet) sell. Jackie must have read through every page on our website to find this out (and that's alot of reading!) Not only is it soft, delightful and begging to be spun, but Jackie took the time and care to pick through the entire bundle, removing all the guard hairs - This fiber was scraped from the hide of a musk ox. I think that I shall just sit and gaze at it for a long time before it is spun. My mind is already filled with glorious images of a lacey scarf (once I get brave enough to spin this stuff)
thank you, Jackie. Your attention to detail, the care in fiber selection and your handmade goodies have made my heart sing. Please hop on over to her blog and give her a big round of applause for this wonderful gift to me!
posted by Teyani @ 9:30 AM
17 comments
![]()


